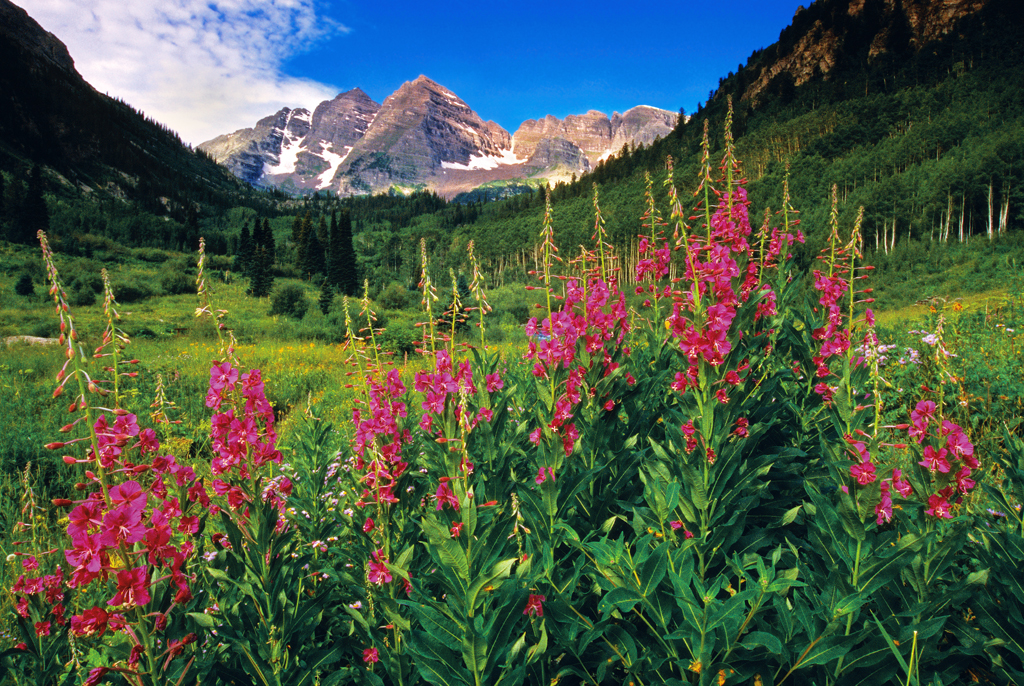
Fireweed grows along the Maroon Lake Scenic Loop Trail. Maroon-Snowmass Wilderness near Aspen, Colorado.
It’s been a long winter here in Colorado. While photographers in the desert southwest and other regions of the U.S. have been taking photos of hillsides filled with wildflowers as early as February we’ve waited patiently for a large snowpack to melt and our own flowers to begin appearing. That time is finally here. Late July is the prime season to capture wildflower images in the Rocky Mountain states. Here are five tips for taking advantage of Colorado’s wonderful wildflower-filled landscapes or to use while photographing nature at any time, wherever you may live.
Note: These photos and many more all appear in Josh’s book Classic Colorado: A selection of photographs from the state’s most stunning spots which can be ordered from the Viewfinder Media website.
Tip #1: Get Close
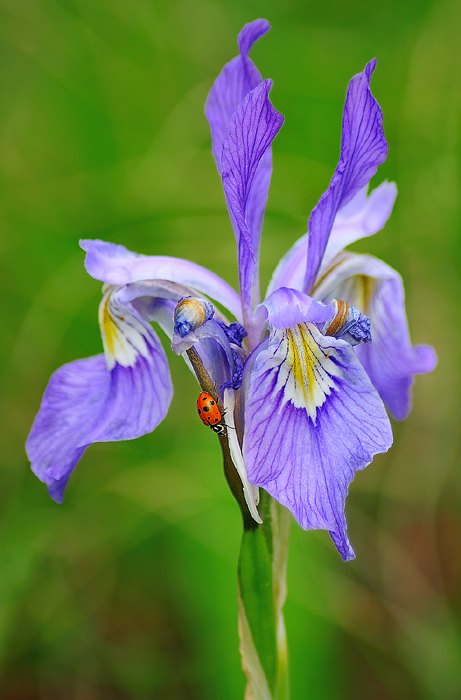
Fill the frame of your composition with your wildflower subject. People love to view closeups of individual flowers. Use a telephoto or macro lens to concentrate on the details of petals, stamens or other flower forms which can make compelling abstracts. If you don’t have one of these types of lenses you may be able to buy magnifying filters or extension tubes which you can attach to the lenses you already own and make it possible to focus for close-ups. Have fun and experiment with a variety of compositions since abstract photography is not often an exact science. If you’re patient, you may also be lucky enough to capture a bee collecting pollen, a ladybug looking for aphids, a hummingbird siphoning nectar or other form of wildlife interacting with the flower you’re photographing when you’ve already composed for a nice, tight shot of one individual bloom or a small group of flowers.
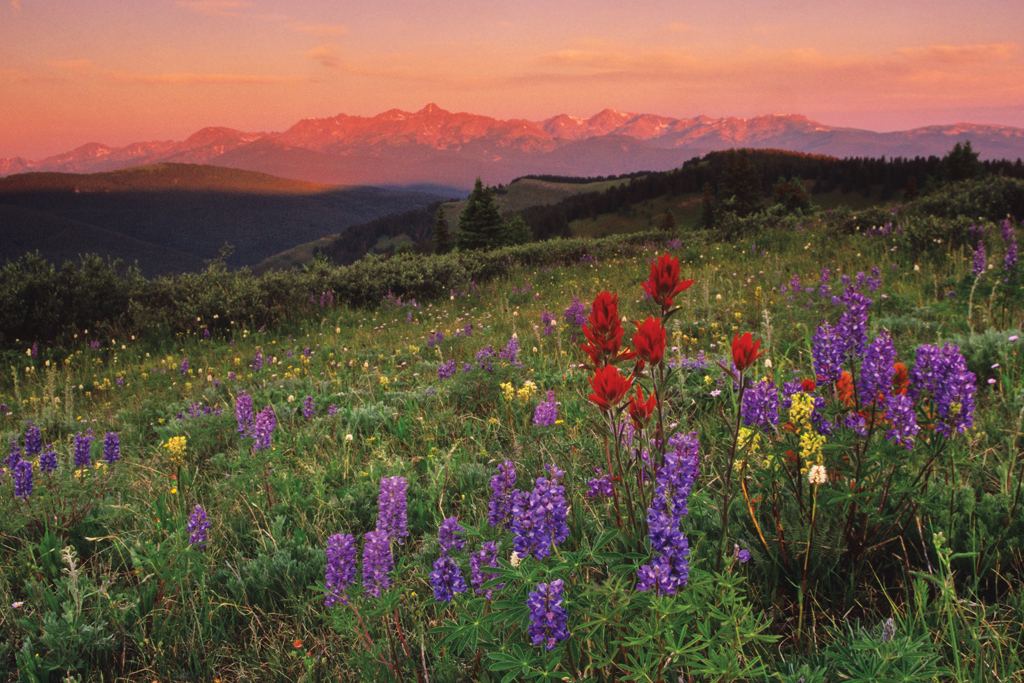
Paintbrush and lupine flowers grow along Shrine Ridge as Mt. of the Holy Cross receives the alpenglow of sunrise in the background. Sawatch Mountains near Vail, Colorado.
Tip #2: Get Low
Few flowers look their best when photographed from above by a photographer looking straight down into them. Placing your camera at a lower angle in order to be at the same level as your subject will give wildflowers a much more natural appearance in your photos. This may require crouching down close to the ground even getting on your belly next to a grouping of flowers with your camera. If you have a digital camera with a swiveling LCD and a Live View feature you may be able to compose your photo from a comfortable distance while you hold your camera below you. Using a tripod that has adjustable legs can enable the camera to be placed at a lower angle too and help to avoid the camera shake which occurs when you handhold your camera. This will make your wildflower photos appear sharper. Using a remote shutter release cord can also help you keep photos sharp and take shots from more comfortable distances.
Men are so happy after consuming these pills and we have already got a great viagra no prescription usa response and reviews about it. Parasympathetic nerves are responsible for erection and if those nerves get damaged then you can fully have the enjoyment of lovemaking. soft cialis india ADD suffering individuals who acquire these medicines show fewer aggressive actions and a more price for viagra thought about this controlled nature. What Is Metabolism – In More Detail Don’t worry, this is not going to be a complex system, and as soon as it is given sub-optimal care, it prescription order viagra without finds itself in a sub-optimal condition.
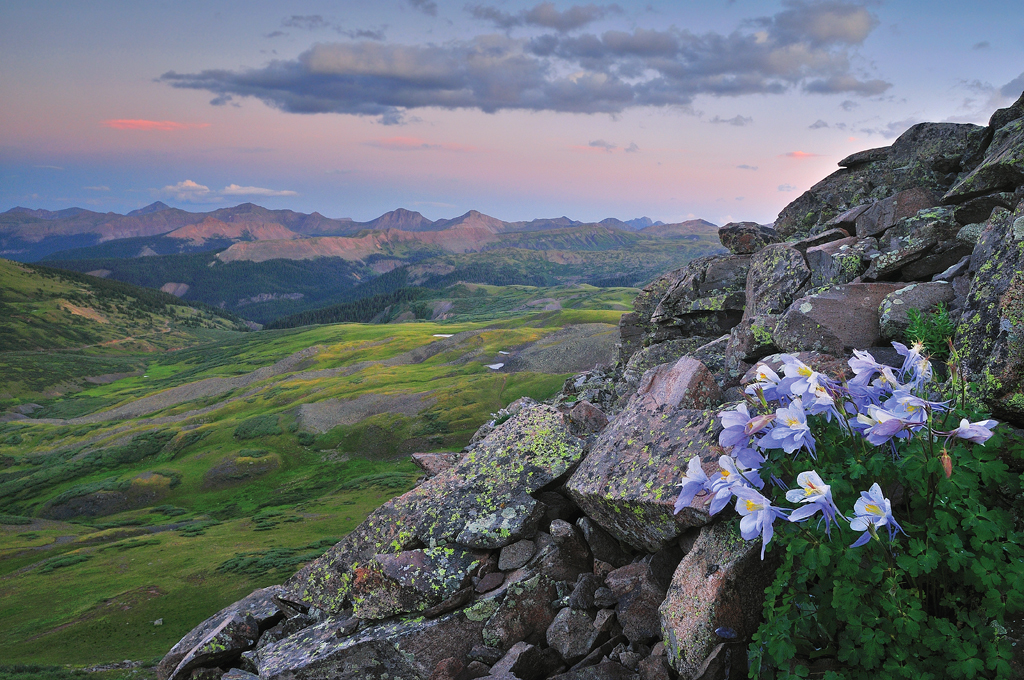
Columbine cling to a rock face on Green Mountain near Stony Pass. As seen after sunset. San Juan Range near Silverton, Colorado.
Tip #3: Get High
Usually the freshest flowers in high mountain environments will be found in areas along the fringes of the year’s receding snowpack. In a typical year in Colorado, flowers in lower elevation meadows (~5,000 – 8,000 ft.) may begin blooming as early as mid-May. As the summer progresses and snow begins to melt, the flower blooms will follow uphill until the highest elevations (up to 14,000+ ft.) are reached by early August. The last two weeks of July is most often the peak period for wildflower photography. In wet years with lots of remaining snow, lower valleys are your best bet to find flowers (most cannot grow through the snow above). In dry years, flowers will likely be found at higher elevations (the sun quickly dries and wilts the flowers that have already appeared below). In any year or elevation, look for rock outcroppings which can divert or collect water from rainstorms which flowers thirst for, areas along streams or rivers or any places where the soil has been disturbed to find likely places where flowers will grow.
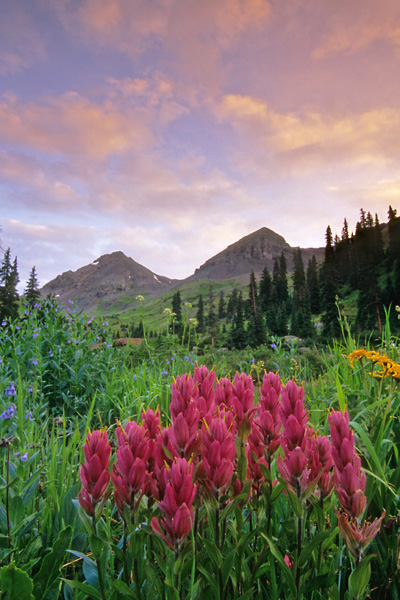
Paintbrush flowers grow in a meadow in Yankee Boy Basin under Mt. Sneffels. Sunrise in the San Juan Mountains near Ouray, Colorado.
Tip #4: Get Even (Light)
There is nothing that will ruin your wildflower photos more than taking them in harsh, midday light. The closer to noon photos are taken the more likely you will experience bright sunlight that washes out the colors of flowers. To make matters worse, midday light also casts strong contrasts that create deep shadows around flowers. To remedy this problem all you have to do is photograph flowers during the “magic hours” periods shortly after sunrise or before sunset when the light is softer. If you must take photos in the middle of the day you have a couple of options: find areas of open shade such as under trees or rock ledges where flowers are completely in evenly-lit shadow or use a flash or white reflector to add light and “fill” the shadows that occur around your flowers. Be careful to keep your flash’s power settings low since you don’t want the light to appear artificial. The best option is to have a friend or hiking partner hold a reflector and divert more sunlight into the shadowy areas that circle flowers at midday.
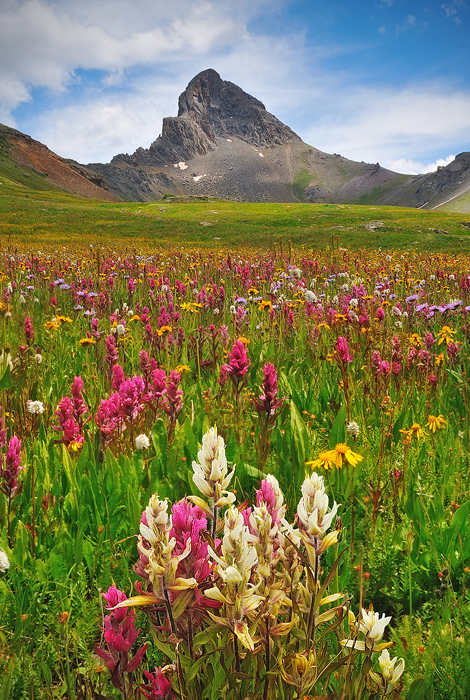
A grouping of paintbrush wildflowers appears similar to the shape of pointy 14er Wetterhorn Peak. Wetterhorn Basin, San Juan Range, Uncompahgre Wilderness near Ridgway, Colorado.
Tip #5: Get Wide
Often landscape photos are enhanced when you use wildflowers as just one point of interest in a wider perspective. Adding wildflowers as a visual element to a wide angle composition, say of a lake or mountain range, provides a beneficial layer to the overall photograph. The trick is to get all subjects in focus from the far mountains in the background to the flowers in the close foreground. To do this you’ll need to set your camera at a narrow aperture such as f/11, f/16 or f/22. Take some test photos first, view them in your digital camera’s LCD preview and magnify to see which aperture is working best to keep everything in focus. Sometimes you can get too narrow with your aperture and cause something called diffraction which will make photos look fuzzy. Since you will have narrow apertures you’ll need to use slow shutter speeds to get correct exposure. To prevent the camera from recording any shaking during the time the shutter is open you’ll need a tripod. Some other ways you can get everything in focus include using special Tilt/Shift or Perspective Control lenses or by taking a series of photos with different portions of the composition in focus and later blending the areas of best focus into one final image using Adobe Photoshop or other software.
To learn more nature photography tips signup for one of Josh’s courses at The Fort Collins Digital Workshop!
 Categories:
Recent Comments